Furniture Painting Tips & Tricks: Single Color Distressed Finish
Single Color Distressed Finish
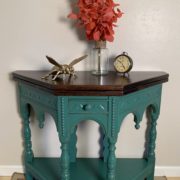
A single-color distressed finish is one of the easiest to achieve, and a great way to add some color to a room full of mostly “brown” furniture. If you have a well-loved piece that shows scratching, water rings, discoloration or other signs of wear, a distressed finish is a perfect solution. You don’t have to go to all the work of stripping, sanding, staining and top coating — and it’s a lot less expensive!
The single-color distressed finish usually requires just one coat of paint, distressing (sanding) to create “worn” areas, and a topcoat. Shown here in the photos are a few different examples. You will notice that some of the sample boards show one side a bit darker than the other. These are the areas where I used a glaze over the paint to create an “aged” look. For this purpose, I use a General Finishes product called “Glaze Effects” in Van Dyke Brown. It is a water-based glaze that you brush over the dried, distressed painted surface, then wipe off. I push the glaze into the paint as I wipe off the excess, allow to dry, and then apply the topcoat.
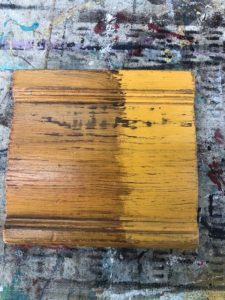
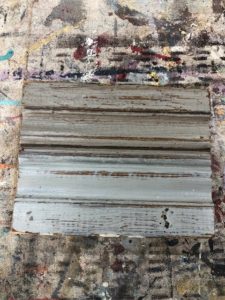
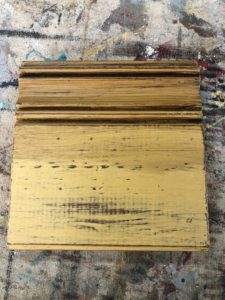
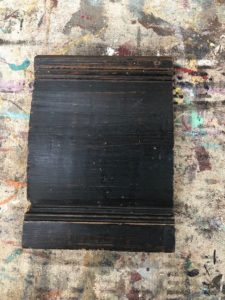
Follow these simple steps for perfect results:
- Clean your piece thoroughly with TSP until you no longer get any dirty water. Allow to completely dry for at least six to 12 hours.
- Apply your Black Dog Salvage Furniture Paint color (or color recipe) of choice. Since you will be distressing to expose the wood beneath the paint, you need not apply a heavy layer of paint, just a complete layer.
- Once the paint is dry to the touch (approximately 2-3 hours) you may start the distressing process. Do not allow the paint to “cure” (dry time of more than 24 hours) or you will wear out your arm sanding! As soon as I can lay my hand on the surface and not pick up any paint, I know it is time to start distressing.
- Using a piece #120-150 grit sandpaper, lightly sand specific areas to create a worn look. I like to hit the edges and high spots first, and work in the same direction. I have seen a lot of bad distressing – usually in the form of too “rough” or sanding done in multiple directions. You want your distressing to look like a natural worn finish. Search for photos of distressed furniture on the internet for ideas.
- If you don’t like an area you have distressed, use the dry brush technique to lightly recover that area.
- Once you are satisfied with your distressed finish and want to add a glaze finish to your piece, now is the time. Simply paint on the glaze in sections and wipe off the excess. After glazing allow the piece to dry for 24 hours before top coating.
- With a distressed finish, I prefer a matte topcoat which adds to the distressed nature of the piece. If you used a white or light paint color, you should topcoat with Show Dog in Matte. If you used a mid-tone or dark paint color, use Guard Dog in Matte.
- Allow a minimum of 24-36 hours of cure time before placing things on the top of the piece.
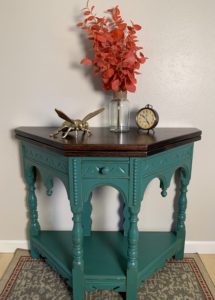
This is also one of the techniques I teach in my Intro to Furniture Painting classes at Black Dog Salvage. Check out our class schedule for a hands-on instruction experience.
As always, let me know if you have any questions and Happy Painting!
Susan “Swooz” Hudson
For more “Tips & Tricks” visit our YouTube Channel.

